Google Classroom - Only for the Googly!
Are your students natural-born Google Drive-rs? Are you looking for a way to streamline the sharing process in Google? Then, you should be using Google Classroom! We’ll show you how to make the transition to Google Classroom seamlessly as well as how to create templates, assignments, and eliminate the “Shared with Me” folder fiasco! (4-12)
Lesson 1: Too many options!? Classroom or Edmodo?
Lesson 2: Join a Google Classroom
|
|
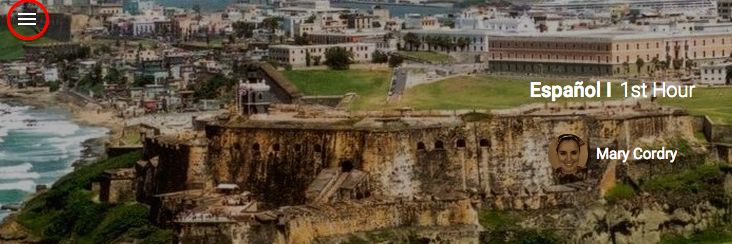
Lesson 3: Introducing the Layout
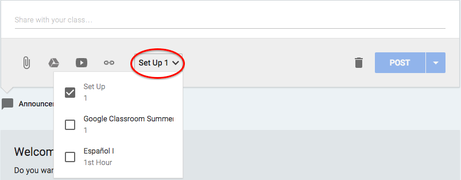
The StreamAssignment details/submissions, comments/chat, and announcements are displayed here.

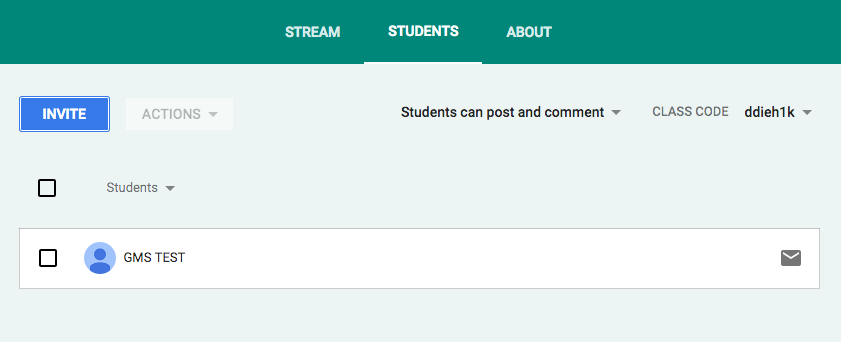
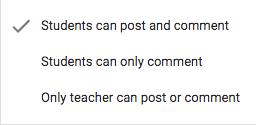
Students (Classmates)List of students is under the 'Student' tab. Teachers can email students directly (high school only), remove students from the class, and control student posting abilities. In the student version, 'Classmates', students can see students in the class and send them email (high school only).
|
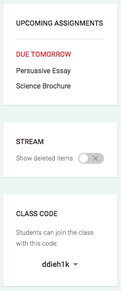
Assignment Display (on the left)Upcoming assignments (by due date) and course code (in teacher view) are located here.
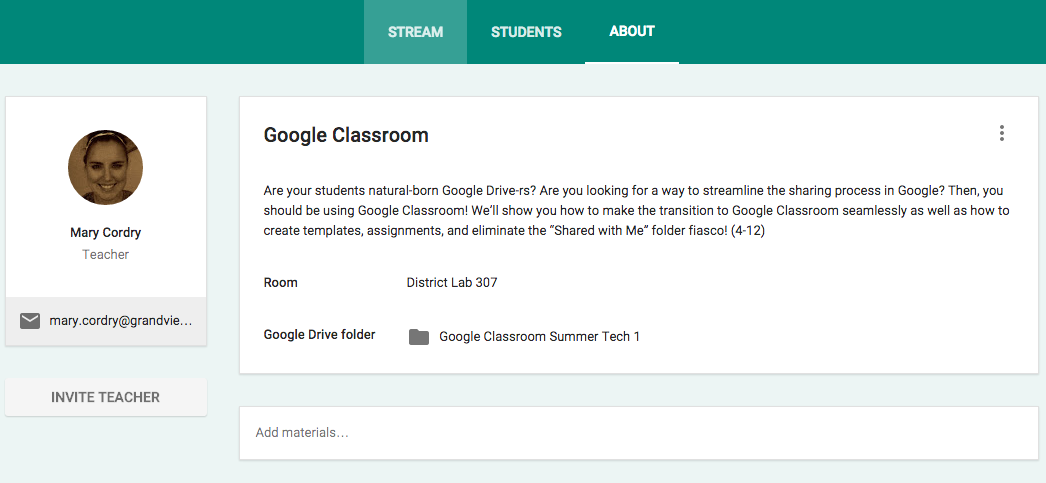
AboutThis section gives a course description and provides students with important documents, such as the syllabus, course calendar, etc.
|
Once you've familiarized yourself with these features, post a hello to your classmates on the Google Classroom stream!
Lesson 4: Complete an Assignment
 1
1
In this course, we will complete two different types of assignments: a whole-class collaborative assignment and an individual assignment. Locate and complete the following assignments in the Google Drive stream for this course: "Whole-Class Collaboration" and "Thoughts and Opinions".
Lesson 5: Create your Classroom
|
The moment you've been waiting for... Creating your first Google Classroom! We'll go through all of the steps to make your Google Classroom exactly how you want it. Here is the outline of what we're going to cover in this section:
|
|
Lesson 6: Create a Template
 2
2
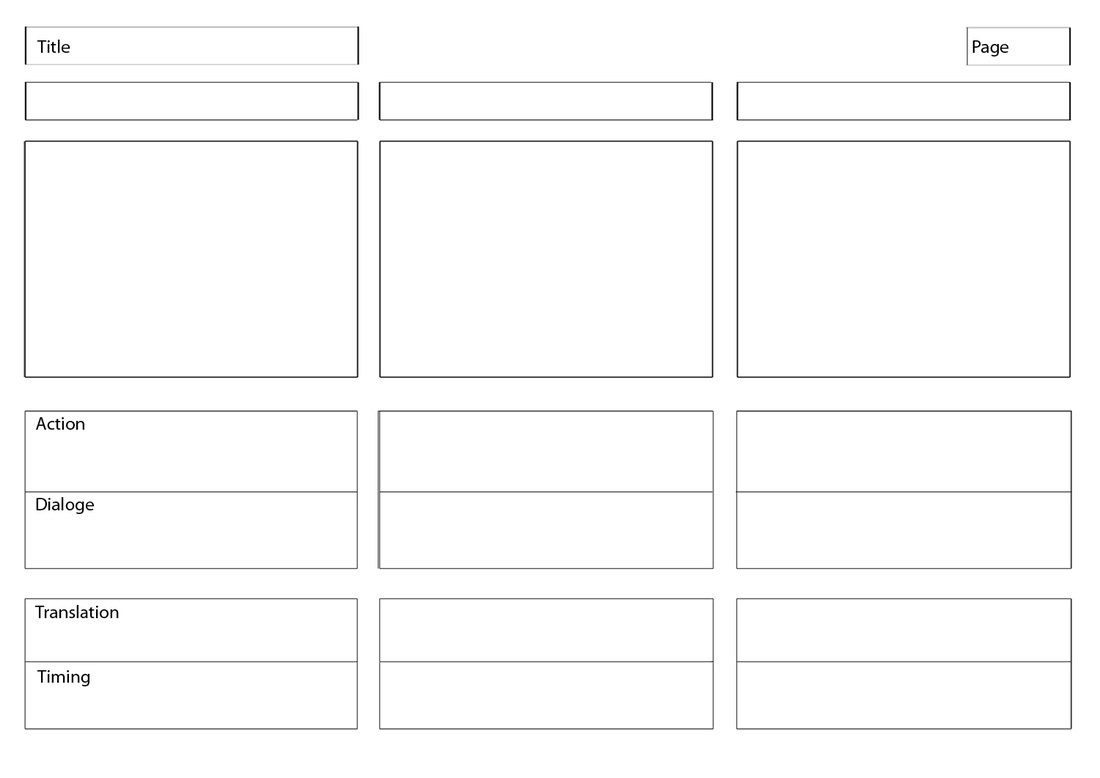
One of the main advantages to Google Classroom is the ability to create and distribute documents and templates easily to all students. We're going to create a template (like the one you used in completing the assignment in Lesson 4) that you can use with your students. You can use any of the Google products (Docs, Slides, Drawing, etc.) to create your template.
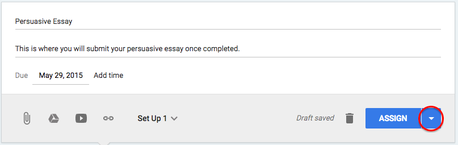
Lesson 7: Post an Assignment
|
Using your newly created template, we're now going to post an assignment for your students. The video to the right demonstrates how quickly an assignment can be created in Google Classroom (Hint: It's less than two minutes!!)
|
|
Lesson 8: All the Extras
Managing Students
|
Efficiency Tips
|
|
Under
the Students tab, you can change and manage students abilities in Google
Classroom.
2) Email - to send an email to the student(s) 3) Mute - allows you to prevent specific students from being able to post/comment without preventing the whole class
Add a Co-Teacher
To add another teacher to your Google Classroom, click the About tab and then select the "Invite Teacher" button on the left-hand side.

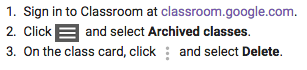
Archiving/Deleting a Class (at the end of the year)Once the school year is done, you can archive a class so that it no longer shows up in your current classes list. The advantage of archiving, versus deleting, is that you still have access to the entire class (the stream, assignments, materials, etc.) without cluttering up your current class list. It keeps your stuff organized!
To archive a class: 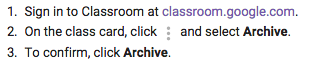
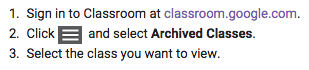
To view an archived class:
To delete an archived class (Warning: You cannot undo a delete!):
|
In Google Classroom, there is almost always an easier way to do things. Here are some great ways to make using Google Classroom easier for you!

|
1 Devoir/Homework by Improulx obtained from https://openclipart.org/detail/104545/devoir-homework
2 Storyboard Template 002 By Tomas Mitkus (Own work) [Public domain], via Wikimedia Commons
2 Storyboard Template 002 By Tomas Mitkus (Own work) [Public domain], via Wikimedia Commons